Now that you have signed up for hosting with Bluehost (see my step-by-step Bluehost sign-up guide here), the next step is to create your website.
The easiest way to create a website is by using a website builder tool like WordPress. But how do I install WordPress on Bluehost?
WordPress is by far the most popular option. WordPress is free, easy to learn and use, and well supported.
Let’s learn how to install WordPress on Bluehost! For this guide, I will be focusing entirely on WordPress, but Weebly, Joomla, and Drupal are also popular alternatives to WordPress.
Thankfully the process for installing any of them is pretty similar, so this how-to install WordPress on Bluehost guide should be helpful no matter which software you choose.
Step 1. Choose Your Bluehost Plan
First things first. You need to pick a plan. Go and check out my step-by-step Bluehost sign-up guide here.
I recommend that you start with Bluehost’s Basic plan, as it’s the cheapest and easiest Bluehost plan to start with (as I’ve explained here).
Step 2. Create Your WordPress Site
When that’s done and you’ve purchased your hosting plan, the next step is to install WordPress on Bluehost in just a few clicks.
First, Sign in to your Bluehost dashboard, then go to the My Sites tab, and click on the Create Site button in the top-right corner.

Step 3. Your Site’s Name and Tagline
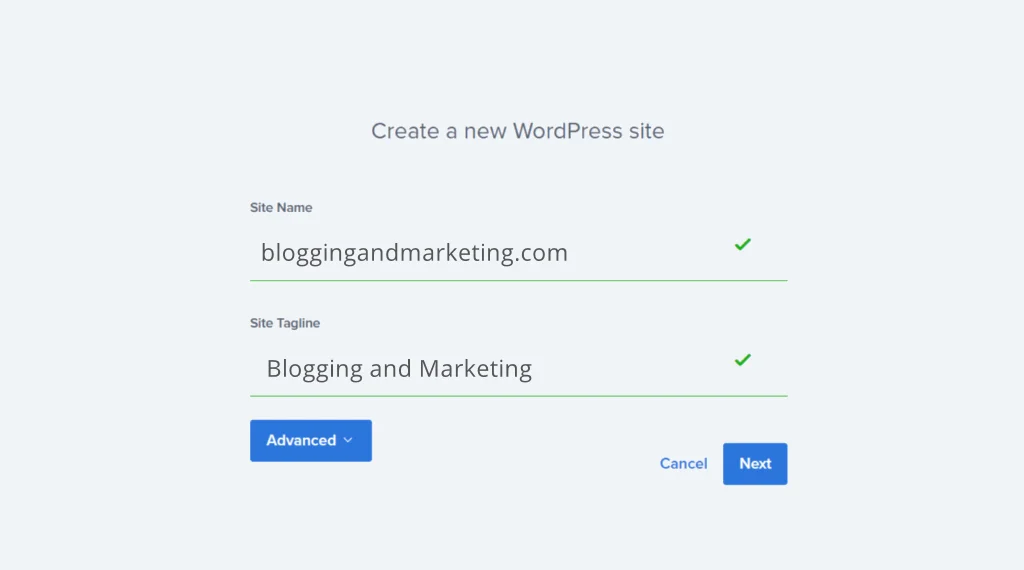
Next, you are asked to give your new WordPress site a name and a tagline. You can also do this or change this, later.

Step 4. Install WordPress on Bluehost
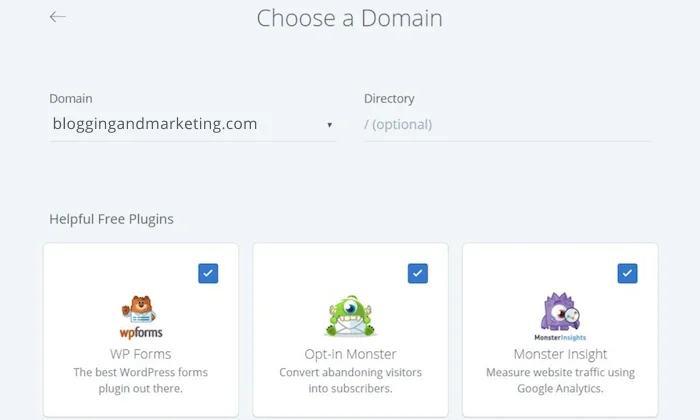
Next, it’s time to install WordPress on the domain in your Bluehost account.

Choose your domain from the dropdown, and choose which directory to install it in (you want to leave the folder as / i.e. as root)
- If you leave the field blank (and that is the recommended action), then WordPress will be installed on your root domain (e.g. domain.com)
- If you put a word in the field, for example “wordpress”, then WordPress will be installed into that directory (e.g. domain.com/wordpress)
You will also get asked if you like to have popular WordPress plugins pre-installed.
When you click Next, Bluehost will start installing WordPress for you.
Step 5 – Login To Your WordPress Site
Bluehost will now install WordPress for you, create your new WordPress website, and give you your login details.

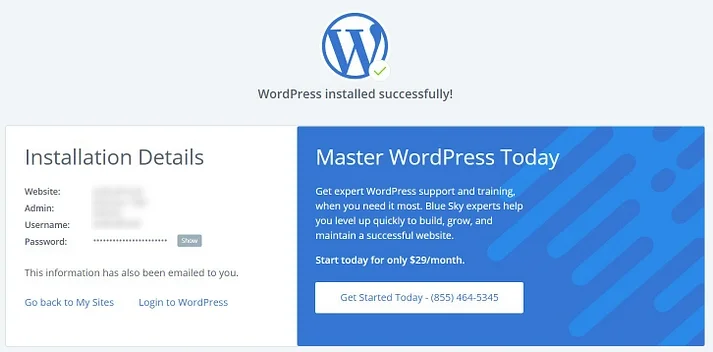
It will take a few minutes for WordPress to install. Once the installation processing is done, you will get redirected to a page where you will be given your WordPress login credentials:
- Your website URL
- Your website’s admin (login) URL
- Your username
- Your password
This is important information, so make sure you write everything down and keep it somewhere safe and easily accessible.
You will also receive a confirmation email with all the information.
Step 6. That’s it – You have successfully installed WordPress!
You did it! You now have a brand-new installation of WordPress on your Bluehost hosting account.
You can now log in to WordPress and begin editing themes, uploading plugins, and adding content to start blogging on your new WordPress website.
If you haven’t already, go to bluehost.com and sign up right now.
But if you need more information, you should check out our Bluehost reviews page first. Also, if you for whatever reason need to cancel Bluehost go here.
