Here I’m going to show you how easy it is to sign up with GreenGeeks and how you can take the first step toward creating your website or blog with them.
GreenGeeks is a beginner-friendly web host with data centers in multiple locations. It’s been hosting more than 35,000 customers since 2006 and providing exceptional customer service.
- 30-day money-back guarantee
- A free domain name, and unlimited disk space & data transfer
- Free site migration service, and nightly automatic data backups
- LiteSpeed servers using LSCache caching
- Fast servers (using SSD, HTTP3 / QUIC, PHP7, built-in caching + more)
- Free SSL certificate & Cloudflare CDN
If you have read my GreenGeeks review then you know that this is a LiteSpeed-powered and beginner-friendly web host I recommend.
The process of signing up at GreenGeeks is very simple and easy. Here below are the steps you need to go through to sign up with GreenGeeks.
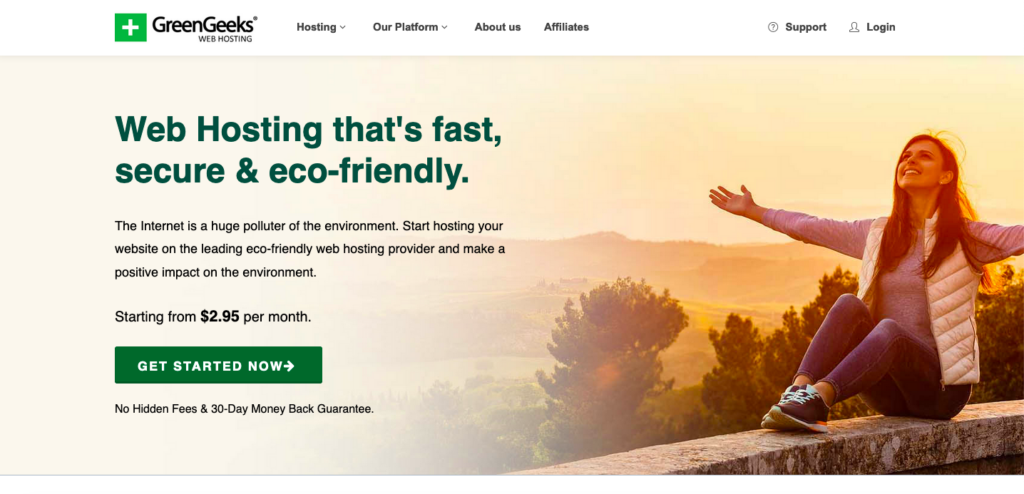
Step 1. Go to GreenGeeks.com

Go to their website and find their web hosting plans page (you won’t be able to miss it).
Step 2. Choose your GreenGeeks hosting plan
GreenGeeks has three shared hosting pricing plans you can sign up for; Lite, Pro, and Premium. (I recommend the Lite plan if you are a beginner.)

Shared hosting plans: GreenGeeks offers three shared web hosting plans: Lite ($2.95/month), Pro ($5.95/month), and Premium ($10.95/month).
Both the Pro and the Premium plans come with unlimited storage space and unlimited websites, a very reasonable price for these features.
WordPress hosting plans: GreenGeeks’ hosting specially designed for WordPress comes at three prices:
The prices are identical to the shared web hosting plans). Lite ($2.95/month), Pro ($5.95/month), and Premium ($10.95/month).
All of GreenGeeks’ plans come with 1 tree planted, as well as their wind energy offset promise and a free domain name, and with a 30-day money-back guarantee.
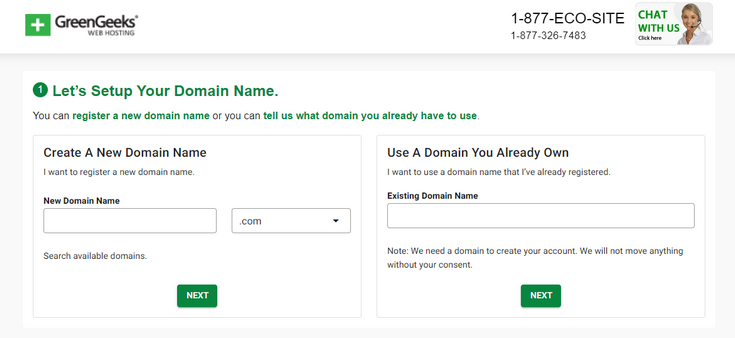
Step 3. Choose Domain Name
Next, you need to choose a domain name.
You choose to create a new domain (included for free) or sign up using an existing domain you already own.

Step 4. Review & Complete Your Order
Next is the final step, where you create your account, fill out your personal details, your payment information, and the add-on hosting options you want.

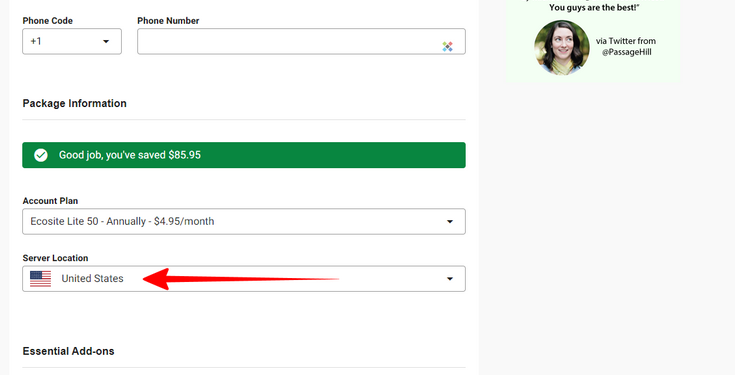
Next, you are asked to choose your hosting package, and the add-ons and pay for your hosting account. There are two things to factor in here.
First thing is to choose the location of your preferred server location.
You are given the option of the United States, Canada, or Europe. Choose the location based on where you are and where your customer/audience is geographically located.
Second thing is to decide if you need the ID Protect – Whois Privacy addon. This only applies if you chose to register your, free, domain name with GreenGeeks.
For an extra $9.95 per year, Whois Privacy hides your public data for your domain’s whois information. It’s entirely up to you but I would not pay for this extra.
Step 5. And You Are Done

Great work, now you have signed up with GreenGeeks. you will receive an email confirming your order, and another email with the login to your GreenGeeks Customer Area.
The next thing you need to do is to install WordPress (see my GreenGeeks WordPress installation guide here)
If you haven’t already, go to GreenGeeks.com and sign up right now.
